My Strawbale Workshop Building
If you are interested in building with straw to promote
sustainability of the planet, this building is a poor
example of sustainable practices. See web sites on
load-bearing straw construction, earthen floors, rubble
trench foundations and using recycled lumber. All those
practices are much more sustainable.
These are pictures of my 1200 square foot workshop building as it is going up.
It is a post and beam design which I designed. I used the services of an
architect to keep me from doing anything stupid and to do the engineering
calculations of what size posts and beams to use. His name is Robert Gay of
Radius Associates and can be contacted by
Email. He is very
knowldegeable about strawbale, having designed quite a few strawbale
structures.
I took over 1200 pictures of the construction, needless to say, I don't have
room on my website to put anywhere near all of them, so I have picked a few
that are spaced out along the construction. I did not put up many
pictures of the standard
construction part, mostly the strawbale part.
Inside of the building there is a main room of 631 square feet which is the
workshop. There is a utility room with the boiler for domestic hot water and
radiant floor heat. This boiler will service both the workshop and the house.
This is one of the reasons to build the workshop first. Also, the workshop could
have been "functional but funky" and it would have been OK. Not true for the
house. Having all the utilities out in the workshop means that there is no
noise or excess heat in the house. All water coming into both buildings comes
in through the workshop and is treated, for now that is just carbon filtration
to remove the high chlorine in our rural water. The utility room is about 100
square feet and also has a toilet.
The next room in the workshop is an unheated storage room of about 100 square
feet. This is for foodstuffs that cannot afford to be frozen or baked. It also
stores much of the overflow tools and materials that I use to make things with.
The last room is the brewery. It is also about 100 square feet, has a 4"x36"
floor drain, piped in propane, 800 cfm exhaust fan and a huge laundry sink.
It can also be used for canning and other "kitchen" type things that are too
large to do in a household kitchen.
Click on the thumbnails to see larger pictures.
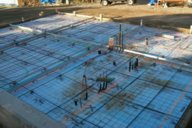
This is a picture of the radiant heat tubing in the slab before we poured the concrete.
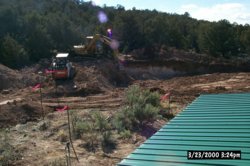
This is a picture of the pad we carved out for the workshop. The dirt
went onto the homesite to build up the pad there.
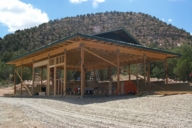
This is a picture of the post and beam with the roof up. This is not too long before
we started putting up bales.
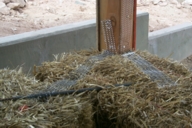
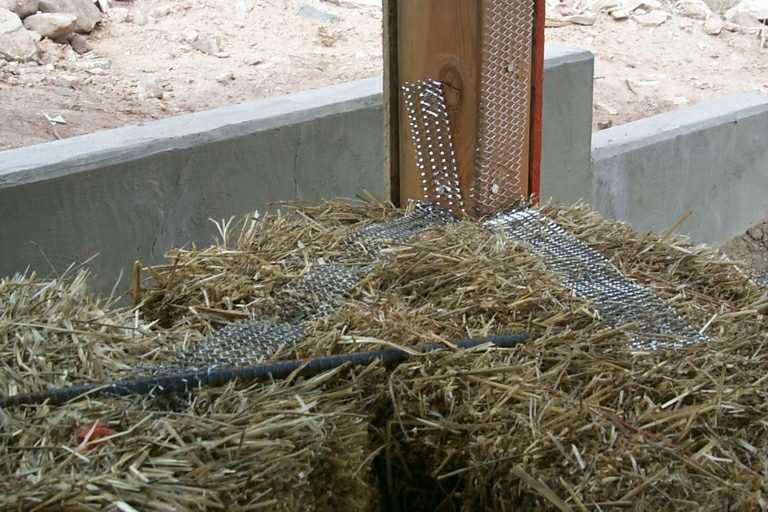
This is a picture of a corner bale intersection detail. We put a large rebar staple
between the bales and connect the bales to the post with expanded metal. The expanded
metal is held into the bales with landscape staples.
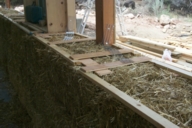
This is a picture of the stiffeneres we used at the top of the third and sixth courses
of bales. These tied the bales together, tied the bales to the posts, and provided
wood that divided the wall in thirds. This allowed us to staple stucco wire to the
stiffeners.
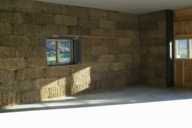
This is a picture of the inside of the main workshop room just before blowing on the
stucco.
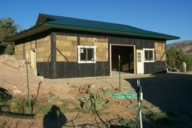
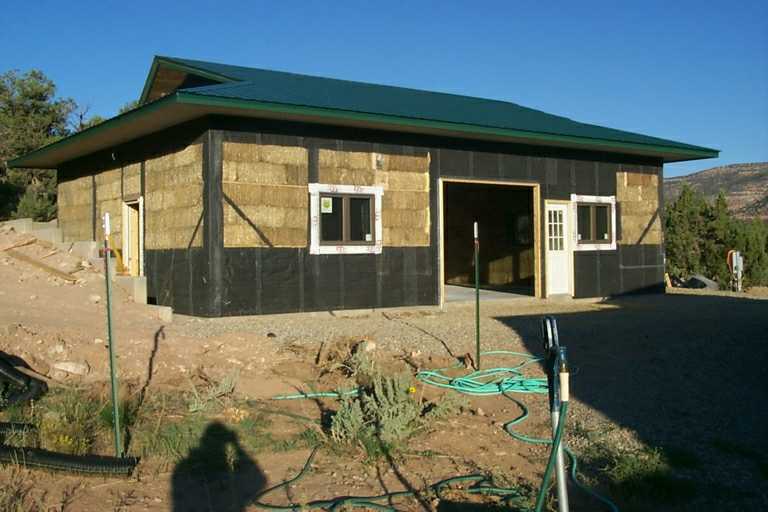
This is a picture of the outside ready for stucco.
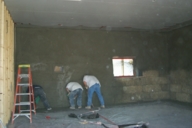
This is a picture of the stucco being blown on and troweled smooth to level
it out. This is the scratch coat.
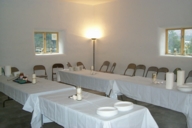
This is a picture of the inside after two coats of stucco and a coat of
paint. It is ready for the christening party.
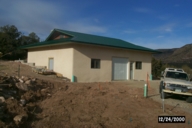
This is a picture of the outside with all three coats of stucco, scratch,
brown and color. The rollup door has been installed, sewer and water are
connected. During the next week we got the propane boiler going and the
radiant floor heating and domestic hot water working.
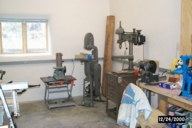
This is a picture of the inside after the wiremold was installed around the
main workshop room and many of my tools were brought in.
Click here to see a directory of many images taken
during the construction